How to Use Mulch Glue to Keep Gravel in Place
If you’ve been following along since last fall, you might remember when we first took on this paver project and laid the pavers with the limestone chips between them. I documented all of that, so you can watch our process of laying the pavers in this Instagram highlights!
I designed this to be a mix of function and style. The pavers create a really nice walkway from our back deck to our basement stairs, so I knew I wanted them to look good and hold up well in the yard. I think the overall design turned out great!
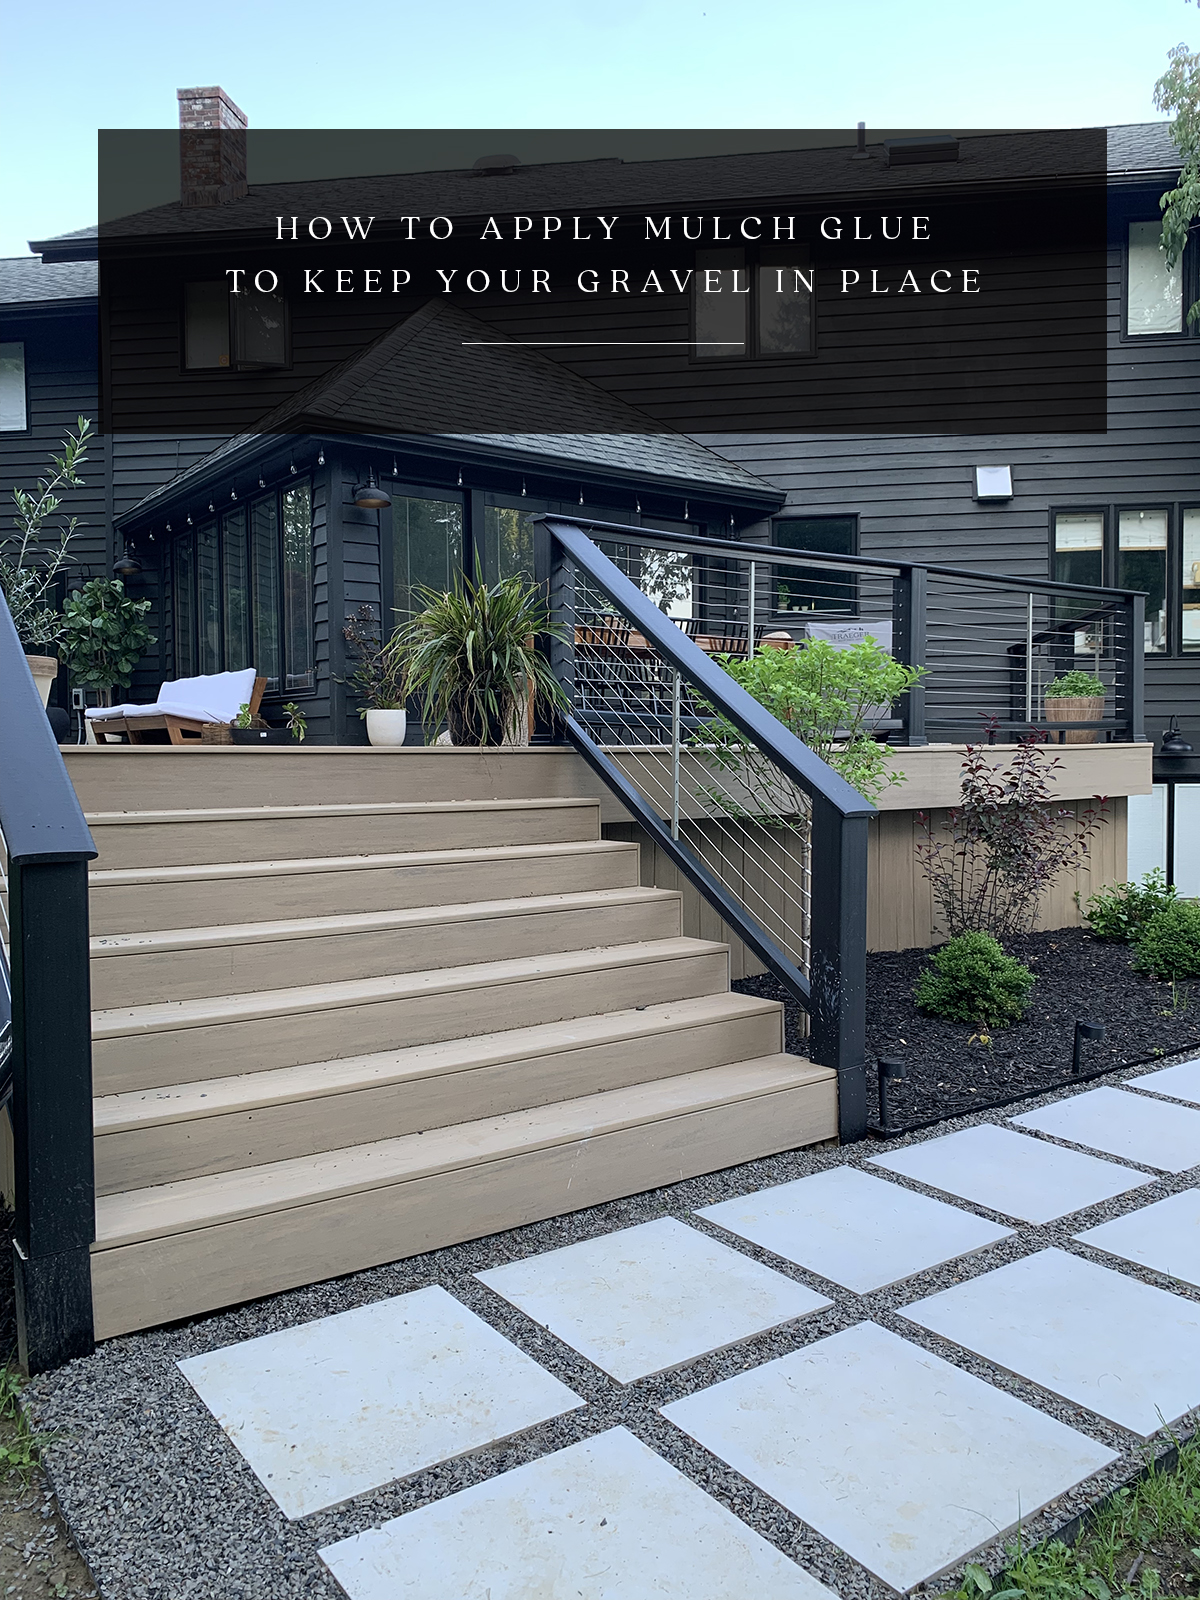
Now, I thought about the loose gravel when we first did this project, like how it would stay in place, etc. But I didn’t want to stress about it too much and figured because it isn’t a high traffic area it would be fine. However, in the time since we originally laid everything, I’ve learned mischievous children and loose gravel don’t mix well. I needed a solution to stop always having limestone chips on my paver walkway, and thanks to some of you, I think I found it… mulch glue! Follow along for my super simple mulch glue tutorial if you’re tired of your gravel (or mulch) ending up everywhere.
Step 1
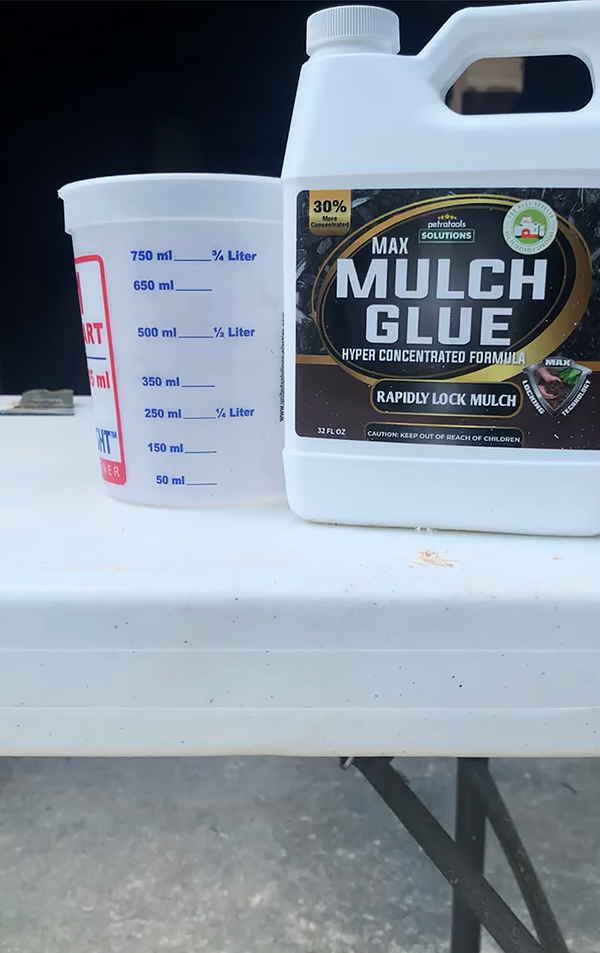
Mix together one part mulch glue to two parts water. Combine in a garden sprayer for application.
Step 2
Stir well to combine.
Step 3
Apply the mixture with a garden sprayer. A garden sprayer makes it really easy to control where you want the glue to go, which makes application a breeze. Two coats are recommended and I waited an hour before applying the second one.
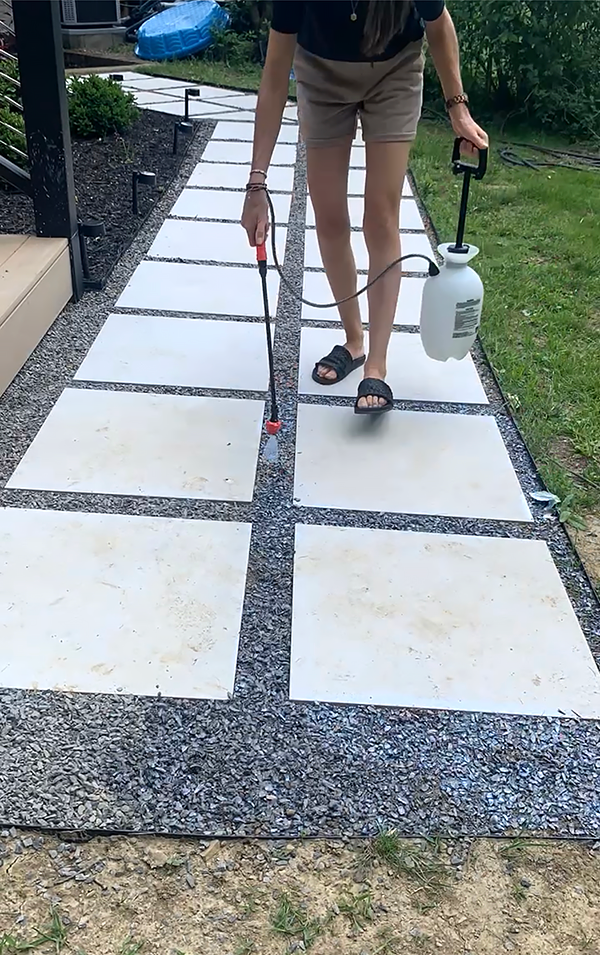
And that’s it! 3 easy steps to using mulch glue to secure your loose gravel or mulch. The mulch glue I used is permeable to water, so when it rains water won’t pool on top. And it’s supposed to last for 12 months. So I’ll keep you updated on how it’s holding up.
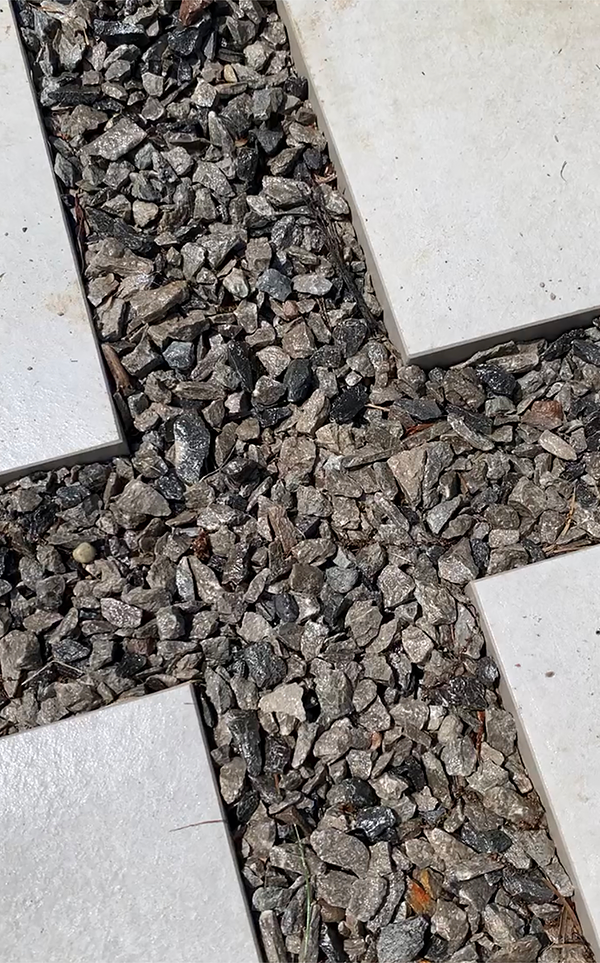
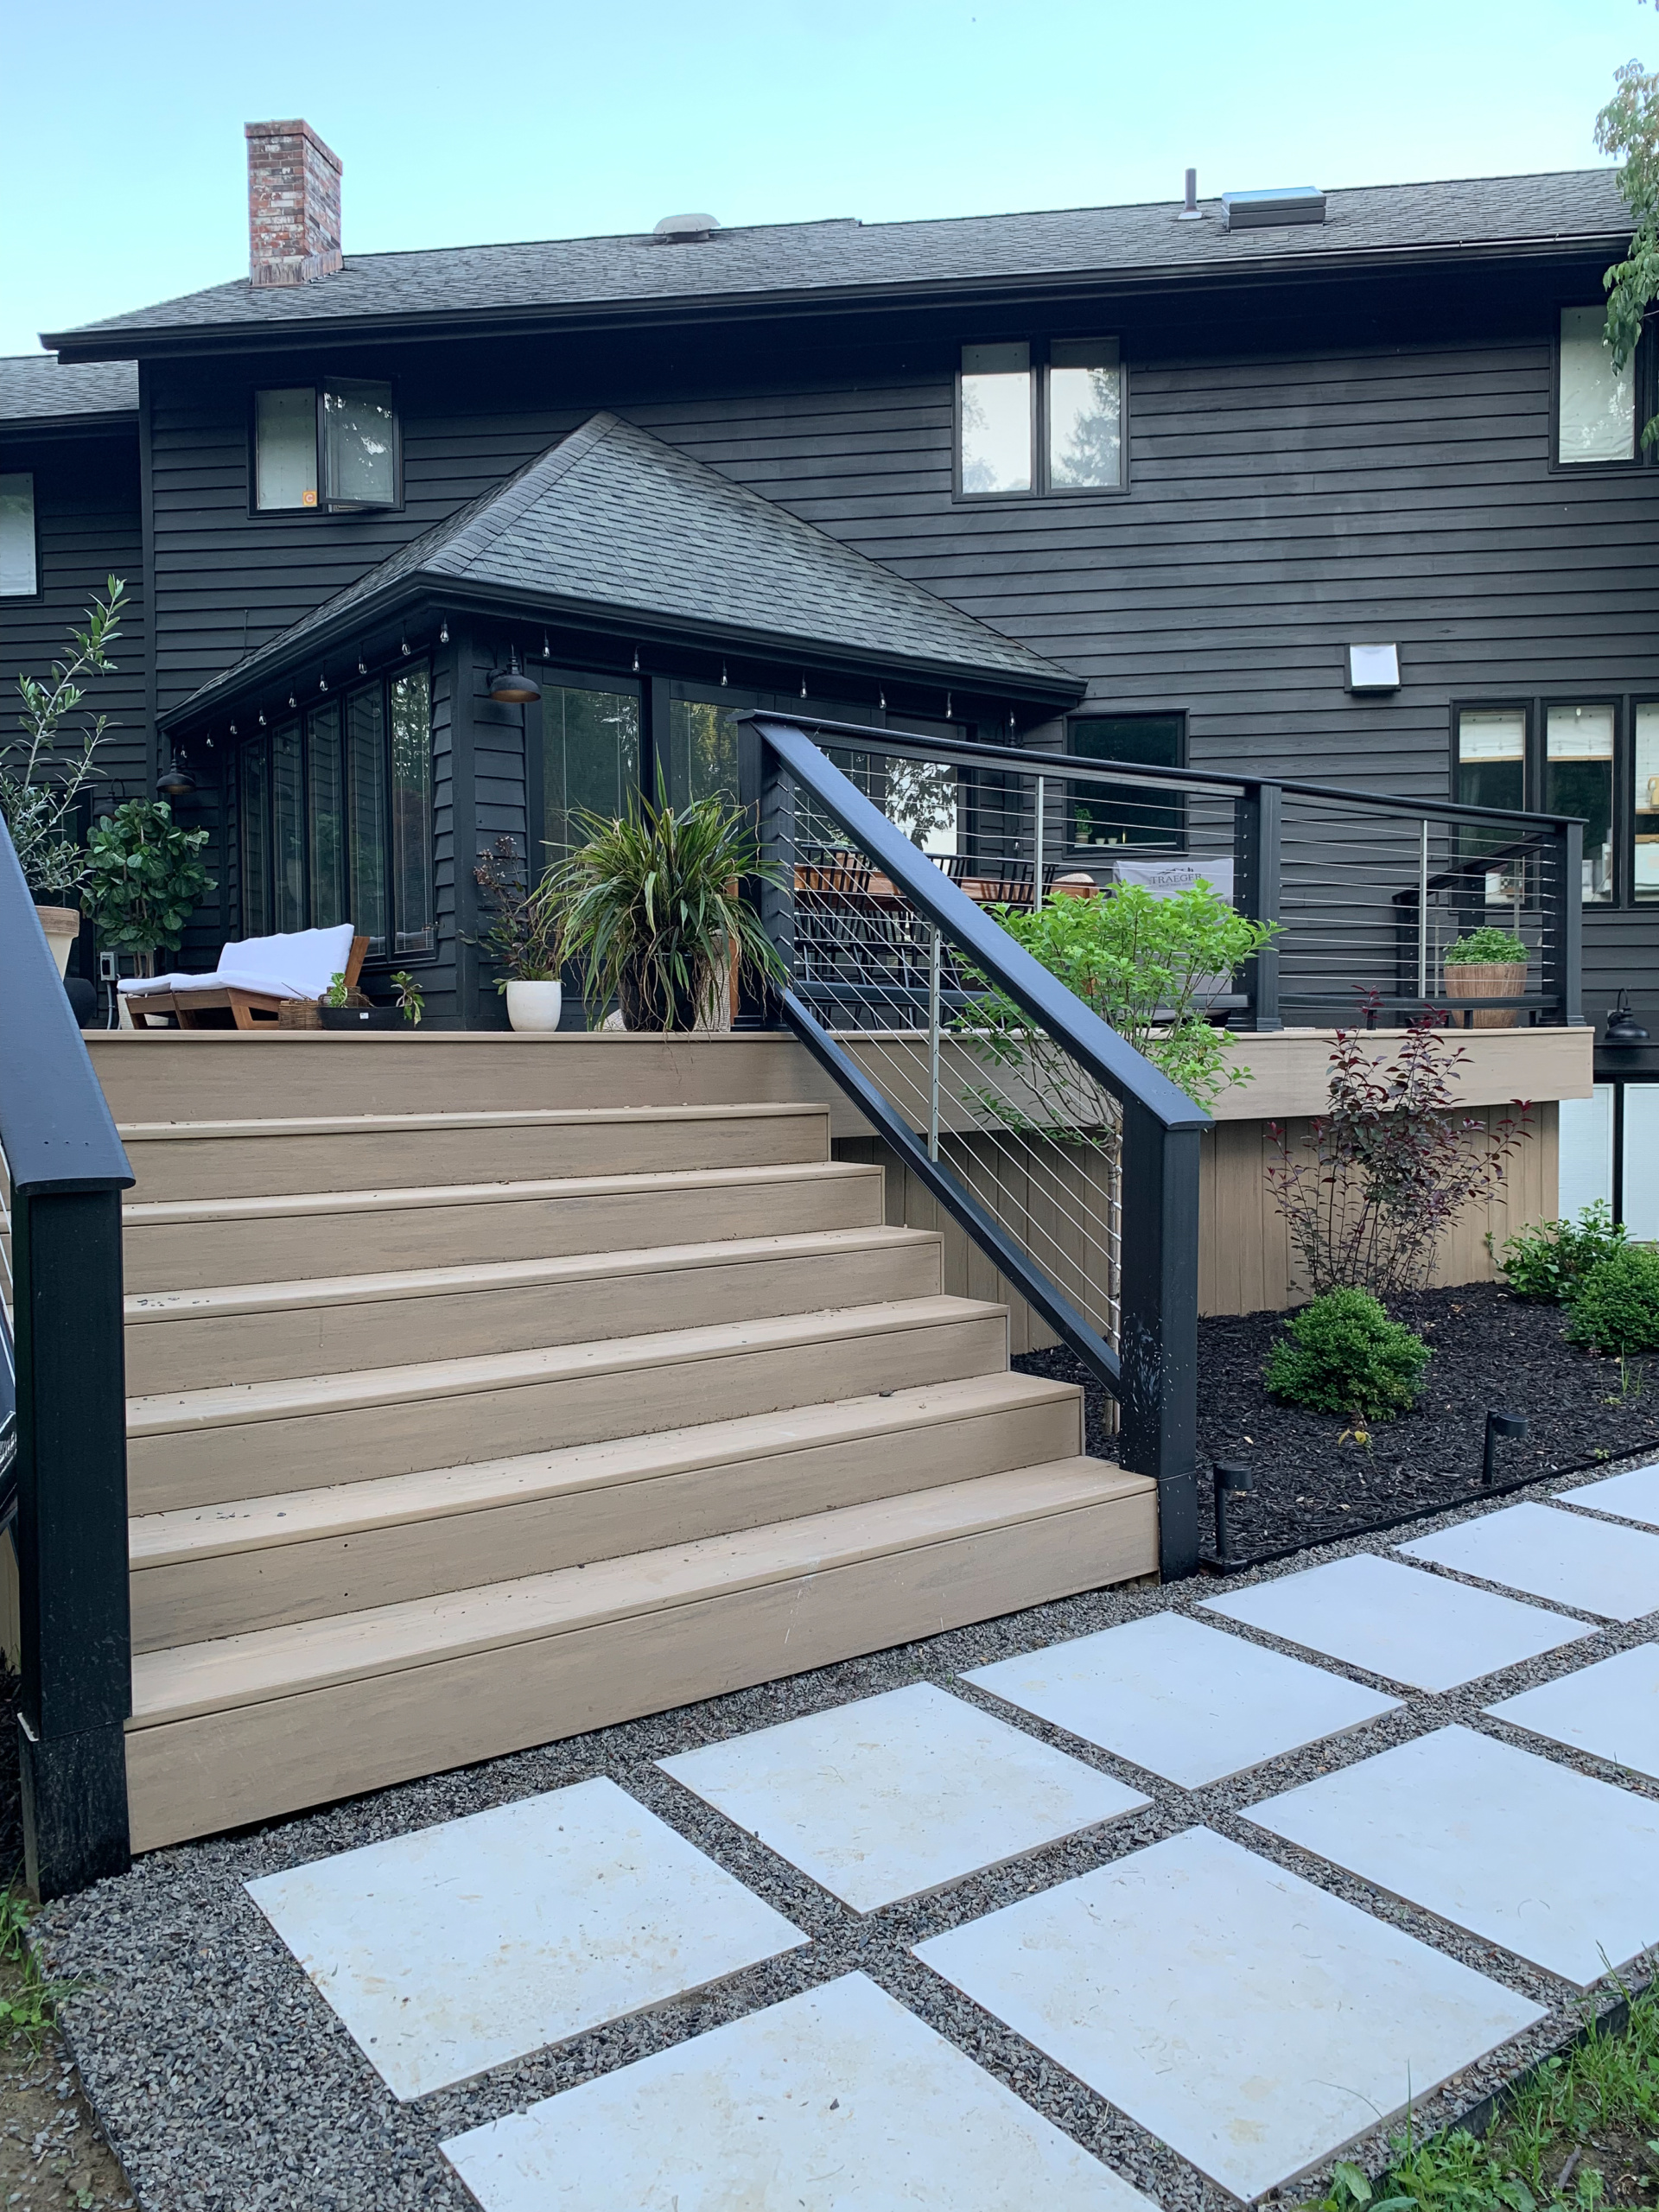
I am so happy with the results. There were a few loose pieces here and there, but overall everything was glued down and snug. I really wish we would’ve done this when we first laid the pavers, because now there’s a bunch of debris from the tree that I wasn’t going to spend time picking out. But either way, it still looks great! You can watch this process in action in this Instagram reel!